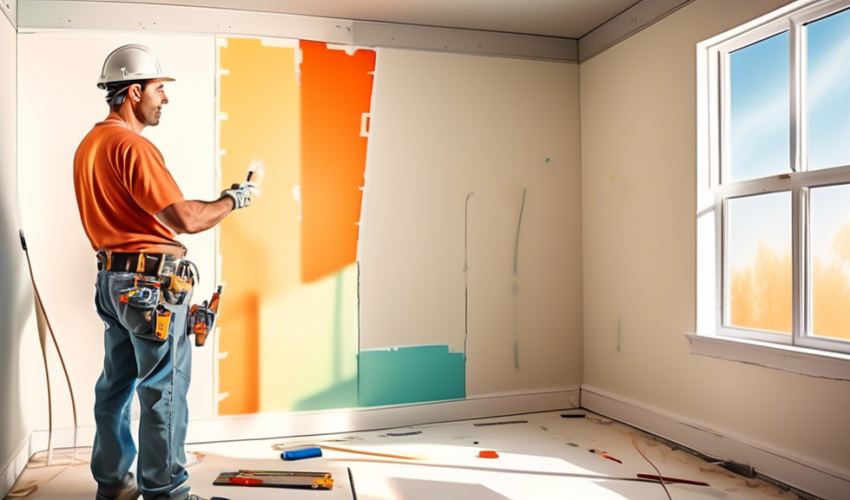
Introduction to Drywall Installation and Finishing
Drywall installation and finishing are critical stages in the construction and renovation of walls and ceilings. Drywall, also known as gypsum board, is a popular choice due to its fire resistance, sound insulation, and ease of installation. Proper techniques ensure a smooth, seamless appearance, which is essential for paint or wallpaper application. This article highlights top tips for both installation and finishing, covering everything from choosing the right materials to applying the final touches for a professional look.
Top Drywall Installation Tips
1. Choose the Right Drywall
Start by selecting the appropriate type and thickness of drywall for your project. For most interiors, 1/2-inch thick drywall is standard. Use moisture-resistant drywall in bathrooms and basements to prevent mold growth.
2. Measure Twice, Cut Once
Accurate measurements are crucial for minimizing waste and ensuring tight joints. Measure the space where the drywall will be applied, mark your cuts on the drywall sheet with a T-square, and score the surface with a utility knife before snapping the board along the scored line.
3. Hang Drywall Correctly
When hanging drywall, start from the ceiling and work your way down to the walls. This approach supports the weight of the wall panels and prevents sagging. Ensure the edges of the drywall sheets align with the center of the studs or joists for secure attachment.
4. Use the Proper Fasteners
Use drywall screws rather than nails to prevent popping in the future. Screws should be long enough to penetrate at least 5/8 inches into the studs. Be careful not to overtighten and break the paper surface of the drywall.
5. Stagger the Seams
To increase the strength of the installation and reduce the visibility of seams, stagger the end joints of the drywall panels across different rows. This method also helps in preventing cracking along the seams.
Top Drywall Finishing Tips
1. Apply Tape to Joints
Before applying joint compound (mud), firmly press paper or fiberglass mesh tape along the seams. The tape reinforces the joint and helps prevent cracking as the compound dries and the house settles.
2. Use the Right Tools
For the smoothest finish, use a wide, stainless steel taping knife for applying and spreading the joint compound. A smaller knife can be useful for tight areas or detail work. Keep your tools clean and free from dried compound to avoid dragging and streaking.
3. Mix Your Mud Properly
If using pre-mixed joint compound, mix it slightly to ensure a consistent, creamy texture. For setting-type compound, which dries harder and is ideal for first coats, follow the manufacturer’s instructions closely to achieve the correct consistency.
4. Apply Multiple Thin Coats
Apply the joint compound in thin layers, allowing each layer to dry thoroughly before applying the next. Three coats are typically recommended: the tape coat, the filler coat, and the final coat. Sand lightly between coats to remove any ridges or bumps.
5. Sand Smoothly for a Professional Finish
Once the final coat of compound is dry, sand the surface smoothly, starting with a coarse sanding sponge and finishing with a fine one. Be careful to sand just enough to smooth out imperfections without gouging the drywall surface. Dust thoroughly before painting or wallpapering.
Conclusion
Drywall installation and finishing are skills that improve with practice. By following these tips, DIYers and professionals alike can achieve durable and aesthetically pleasing results. Remember, attention to detail and patience during both installation and finishing stages are key to creating walls and ceilings that look seamless and stand the test of time.

