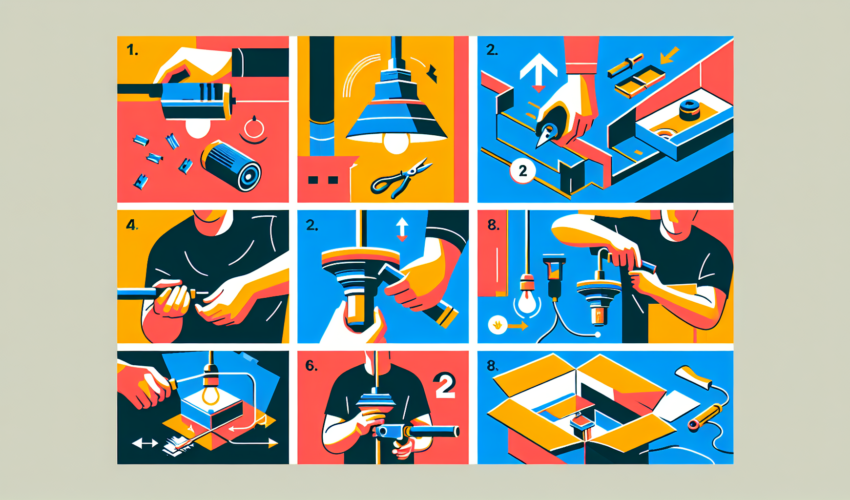
Step-by-Step Guide to Fixture Installation
Installing new fixtures, whether in the bathroom, kitchen, or anywhere else in your home, can be an exciting project that refreshes the space’s look and feel. It might seem daunting at first, but with the right tools and a step-by-step guide, you can accomplish this task efficiently. Let’s go through the process of fixture installation together.
Preparation
Before diving into the installation process, it’s crucial to ensure that you have all the necessary tools and materials. Common tools for fixture installation include a drill, screwdriver, adjustable wrench, plumber’s tape, and possibly a hacksaw for cutting pipes. Always check the manufacturer’s installation instructions for any specific tools required for your fixture. Additionally, turn off the water supply to the area where you’ll be working to prevent any accidents.
Step 1: Remove the Old Fixture
The first step is to remove the old fixture. This usually involves unscrewing it from the wall or cabinet and disconnecting it from the water supply lines. Be gentle to avoid damaging the surrounding area. Placing a bucket or towel under the work area can help catch any residual water left in the lines.
Step 2: Clean and Prepare the Area
With the old fixture removed, take the opportunity to clean the area thoroughly. This is especially important in rooms prone to moisture, like the bathroom or kitchen, where mildew can accumulate. Ensure the surface is dry and clean of any debris or old sealant before proceeding.
Step 3: Check the Fit of the New Fixture
Before installing the new fixture, place it in its designated spot to ensure it fits correctly. This is crucial because if the fixture does not fit, you may need additional parts or adjustments. It’s easier to address these issues before the installation goes too deep.
Step 4: Install the New Fixture
Now it’s time to install your new fixture. Start by connecting it to the water supply lines if applicable. Use plumber’s tape on the threads of the water supply lines to ensure a watertight seal. Follow the manufacturer’s instructions for securing the fixture in place, whether by screws, bolts, or another method. Ensure it’s level and aligned properly before finalizing the installation.
Step 5: Seal and Finish
Once everything is connected and in place, it’s important to seal any gaps between the fixture and the wall, countertop, or cabinet. Use a waterproof sealant suitable for the room’s conditions, applying it smoothly for a professional finish. Allow any sealant or adhesive to dry completely, according to the product instructions, before using the fixture.
Step 6: Test the Installation
After everything has dried and set, turn the water supply back on and test your new fixture for any leaks or issues. Turn it on and off several times, and inspect all connections for leaks. Tighten any connections if necessary, but avoid over-tightening, which can damage the fittings.
Final Thoughts
Fixture installation can significantly impact your home’s aesthetics and functionality. By carefully following these steps and taking your time, you can achieve a successful installation that looks great and works perfectly. Always refer to the specific instructions provided by the manufacturer for the best results, and don’t hesitate to call in a professional if the project exceeds your comfort level.

