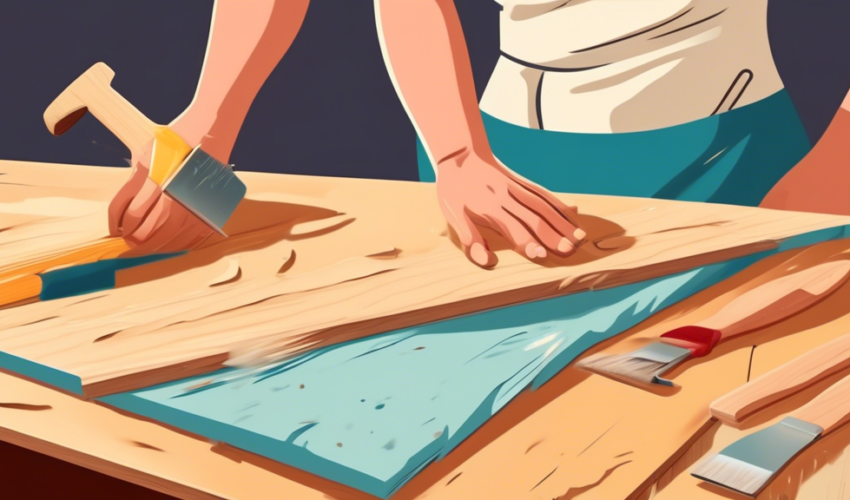
Understanding Water Damage in Cabinets
Water damage can occur to your cabinets due to a variety of reasons such as plumbing leaks, flooding, or as a result of putting damp items in the cabinets. Whatever the cause, water damage can affect both the appearance and functionality of your cabinetry. It can lead to warping, swelling, discoloration, and even mold growth if not addressed promptly.
Identifying the Extent of Water Damage
Before proceeding with repairs, it’s important to assess the extent of the damage. Check for any signs of structural damage, warping, delamination (layers coming apart), or mold and mildew. If the damage is severe or if there is extensive mold present, it might be necessary to replace the cabinets entirely. For milder cases, repairs can be a cost-effective solution.
Materials and Tools Needed
Here are some of the basic materials and tools you’ll need to repair water-damaged cabinets:
- Screwdrivers
- Hammer
- Plywood or MDF (Medium Density Fiberboard)
- Wood glue
- Clamps
- Putty knife
- Wood filler
- Sandpaper
- Paint or wood stain
- Paintbrush or roller
- Varnish or sealer
Drying Out Water-Damaged Cabinets
The first step in repairing water damage is ensuring that the cabinet is completely dry. Use fans or dehumidifiers to speed up the drying process. Avoid using a heat gun or hair dryer as these can cause further damage by warping the wood.
Checking for Mold
Inspect the cabinet for any signs of mold or mildew. If you find mold, it must be treated before continuing with other repairs. You can remove small amounts of mold using a solution of water and vinegar, or for more severe cases, a commercial mold removal product. Ensure the area is well-ventilated during this process.
Repairing the Damaged Areas
Fixing Minor Cosmetic Damage
For small cosmetic issues like peeling laminate or chipped wood, use wood glue or a putty knife to apply wood filler. Once the filler dries, sand down the area until it is smooth. This prepares it for painting or staining to match the rest of the cabinet.
Repairing Structural Damage
If the structural integrity of the cabinet has been compromised, you might need to reinforce or replace parts of the frame. Use screws to tighten any loose parts, and if necessary, replace severely damaged sections with new wood or MDF. Ensure any new pieces are properly sealed and painted to prevent future water damage.
Refinishing the Cabinets
After the cabinet is dry, repaired, and sanded, you can begin the refinishing process. Apply a coat of paint or stain that matches the original finish of your cabinets. Once the paint or stain dries, apply a sealer or varnish to help protect the cabinet from future water damage and to give it a finished look.
Preventive Measures to Avoid Future Water Damage
To prevent future water damage, it’s important to address the source of moisture. Ensure that any leaks in plumbing are fixed and consider using a silicone sealant around the edges of the sink and any exposed areas near the cabinets. Proper ventilation in areas prone to high humidity like kitchens and bathrooms is also crucial.
Conclusion
Repairing water-damaged cabinets can be a manageable DIY project or may require more extensive repairs by professionals, depending on the severity of the damage. By following proper drying, repairing, and refinishing procedures, you can restore your cabinets and protect them against future damage.

