How to Fix Drywall Seams: A Step-by-Step Guide
Drywall seams can become a nuisance in any home, creating unsightly cracks and imperfections on your walls. Whether due to improper installation, humidity changes, or settling of the structure, fixing these seams is essential for maintaining a smooth and attractive wall surface. This step-by-step guide will help you repair drywall seams like a pro, ensuring a seamless and durable finish.
Step 1: Preparation
Before beginning your repair, clear the area of furniture or other obstructions to ensure a safe and clean working environment. Lay down a drop cloth to protect your floors from dust and debris. Wear safety glasses and a dust mask for protection against fine particles.
Step 2: Remove Loose Material
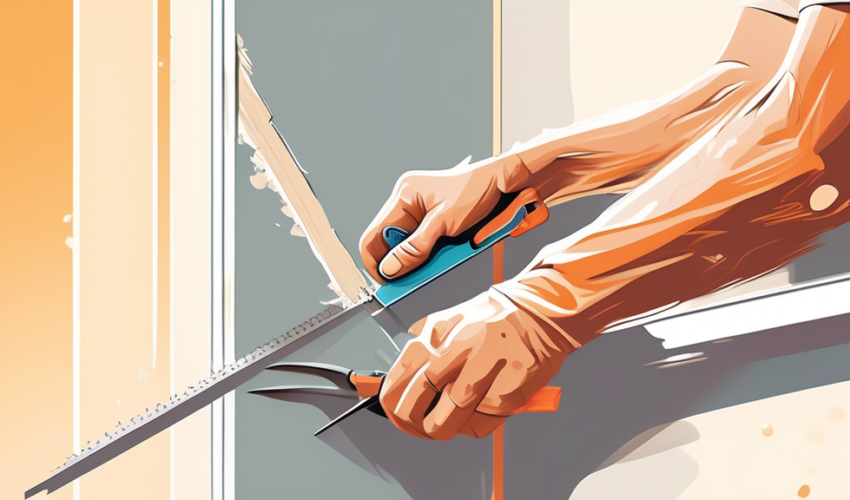
Using a utility knife, carefully remove any loose or peeling paper and crumbling drywall around the seam. This step is crucial for creating a solid base for the patching compound to adhere to. Be gentle to avoid creating more damage to the wall.
Step 3: Apply Drywall Tape
If the drywall tape is bubbling or has come loose, carefully remove it and apply a new piece. For best results, use mesh drywall tape, which offers superior adhesion and is easier to apply. Center the tape over the seam and press firmly into place, ensuring there are no wrinkles or bubbles.
Step 4: Mixing and Applying Joint Compound
Mix your joint compound (also known as mud) according to the manufacturer’s instructions until it has a smooth consistency. Using a drywall knife, apply a thin layer of compound over the seam and tape, extending a few inches beyond on either side. Smooth it out as much as possible but don’t worry about perfection during this first coat.
Step 5: Sanding and Adding Additional Coats
Allow the compound to dry completely, following the drying time recommended on the product label. Once dry, lightly sand the area with fine-grit sandpaper to create a smooth surface. Wipe away any dust with a damp cloth. Apply a second, and possibly a third, coat of joint compound, extending slightly farther out on each side to blend the patch with the rest of the wall. Let each layer dry completely and sand before applying the next.
Step 6: Final Sanding and Painting
After the final coat of joint compound has dried, do a last sanding to ensure the surface is smooth and free of any imperfections. Use a fine-grit sandpaper and be gentle to avoid creating new grooves in the compound. Wipe the wall with a damp cloth to remove any remaining dust. Now your wall is ready for painting or finishing as desired. Apply primer to the repaired area before painting to ensure an even color and finish.
Tips for a Successful Repair
- Patience is key: Don’t rush the drying times between coats of joint compound. Rushing can lead to cracking and peeling, requiring you to start the process over again.
- Smooth transitions: Ensure the edges of your drywall compound blend smoothly into the existing wall to avoid noticeable patches.
- Proper tools: Use the right size drywall knife for the area you are repairing. A wider knife can make smoothing the joint compound easier.
Repairing drywall seams might seem daunting at first, but with the right tools and a patient, careful approach, you can achieve a seamless, professional-quality finish. This guide provides the basic steps and techniques needed to fix unsightly drywall seams, turning a flawed wall into a smooth canvas ready for decoration.

