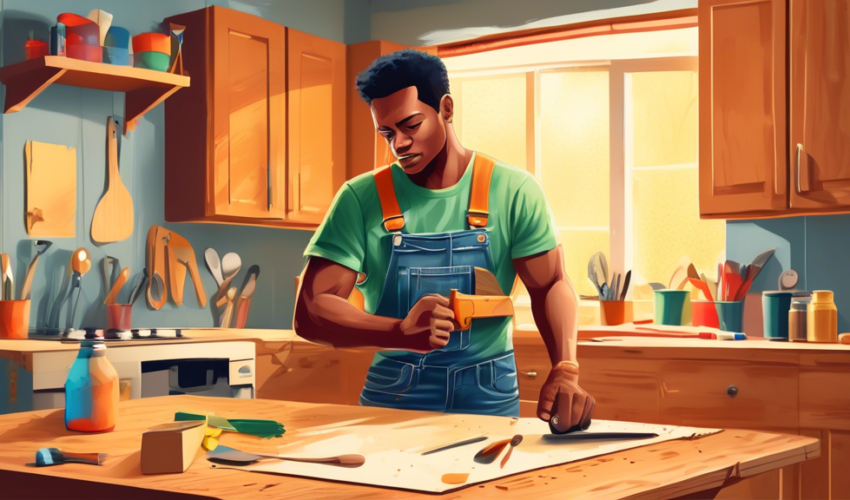
Introduction to Cabinet Scratch Repair
Scratches on cabinets can detract from the aesthetic appeal of your home. Whether your cabinets are painted, laminated, or made of natural wood, there are numerous easy and effective methods you can use to repair these blemishes. In this article, we will guide you through several techniques to help you restore your cabinets to their former glory.
Assessing the Damage
Before you start the repair process, it’s important to assess the severity and type of scratch you are dealing with. Light scratches are generally easier to fix, while deep scratches may require more comprehensive repair techniques or even professional help. Understanding the finish of your cabinet (e.g., oil-based, polyurethane, or water-based finishes) is also crucial as it will determine the appropriate products and methods to use.
Materials Needed
- Mild soap and water
- Soft cloth or sponge
- Sandpaper (fine-grit for finishing)
- Wood filler (for deeper scratches)
- Paint or stain that matches your cabinet
- Clear finish/top coat (optional)
- Wax or polish (optional)
Repairing Light Scratches on Wooden Cabinets
Cleaning the Area
Start by cleaning the surface of the cabinets with mild soap and water to remove any dirt or grease. Wipe them dry with a soft cloth. It’s important to start with a clean surface to ensure the repair materials adhere properly.
Using Oil or Polish
For light scratches, simple oils like olive oil or baby oil can be effective. Apply a small amount to a soft cloth and gently rub it into the scratch. Oils help to darken the wood and mask the scratch. Another option is using a wood furniture polish, which can fill in minor scratches and rejuvenate the cabinet’s surface.
Applying Stain or Marker
If the scratch remains visible, consider using a wood stain or a touch-up marker that matches your cabinet’s color. Apply it sparingly, allow it to dry, and repeat the application if necessary until the scratch blends into the surrounding area.
Fixing Deeper Scratches in Wooden Cabinets
Using Wood Filler
For deeper scratches or gouges, wood filler or putty is ideal. Choose a filler that closely matches your cabinet’s finish. Apply the filler with a putty knife, following the manufacturer’s instructions, and allow it to dry completely. Sand it down with fine-grit sandpaper until it is flush with the cabinet surface.
Refinishing the Area
Once the filled area is smooth, you might need to touch up the paint or stain. Apply a coat of the matching stain or paint over the repaired area and let it dry. For an added layer of protection and to enhance the cabinet’s appearance, apply a clear finish like polyurethane over the entire cabinet door.
Special Considerations for Laminate and Painted Cabinets
Repairing Laminate Cabinets
Laminate cabinets require a different approach since traditional wood fillers and stains won’t adhere well. For scratches in laminate cabinets, use a laminate filler product or a matching color marker designed specifically for laminate. Clean the area, apply the filler, and wipe off any excess to even out the surface.
Touching Up Painted Cabinets
For painted cabinets, sand the scratched area lightly with fine-grit sandpaper to smooth any rough edges. Clean the area thoroughly before applying a matching paint. Use a small brush for better control and apply thin layers of paint, allowing each layer to dry before applying the next.
Maintaining Your Cabinets Post-Repair
After repairing your cabinets, maintain them by regularly cleaning and polishing. Avoid harsh chemicals or scrubbers, and use coasters or mats to protect surfaces from scratches. Regular upkeep not only keeps your cabinets looking their best but also extends their lifespan.
Whether dealing with minor scuffs or significant scratches, there’s usually a straightforward DIY solution for repairing and revitalizing your cabinets. With the right materials and techniques, you can restore the beauty of your cabinetry without the need for expensive replacements.

