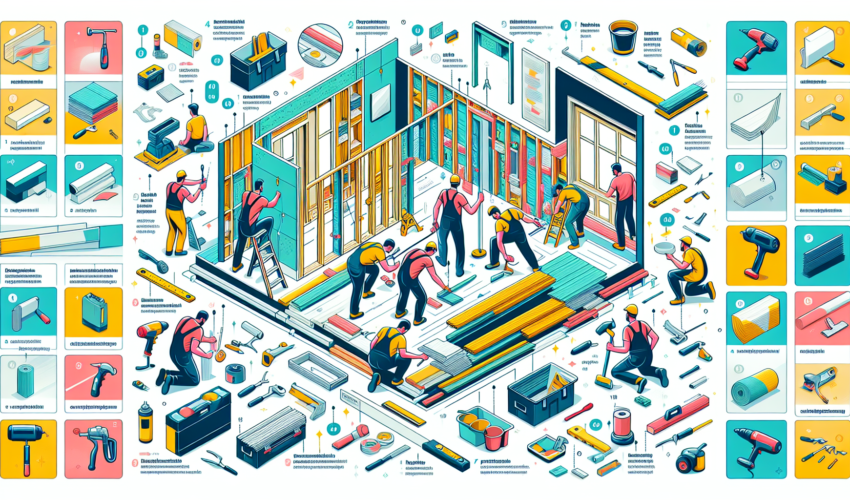
Essential Guide to Drywall Installation and Repair
Drywall, also known as gypsum board, plasterboard, or sheetrock, is a crucial component of building interiors, providing a smooth surface for walls and ceilings. Whether constructing a new home, remodeling, or making repairs, understanding the basics of drywall installation and repair can save both time and money. This guide will walk you through the essential steps and skills needed to handle drywall like a pro.
Materials and Tools Needed
Before beginning, ensure you have all necessary materials and tools. For both installation and repair, you will typically need:
- Drywall sheets
- Drywall screws
- Joint compound (mud)
- Drywall tape
- Utility knife
- Drywall saw
- Screw gun or drill with a drywall screw bit
- Sanding block or sandpaper
- Taping knife or spatula
Installing Drywall
The process of installing drywall involves measuring, cutting, attaching, taping, mudding, and sanding. Following a systematic approach will ensure a smooth finish.
Measuring and Cutting
Measure the space carefully and plan how the sheets will fit together with the fewest seams possible. Use a utility knife to score the drywall sheet, then snap it along the scored line. For cutting out spaces for outlets or switches, use a drywall saw.
Attaching Drywall
Start by installing drywall on the ceiling before moving to the walls. Use a screw gun to fasten the drywall sheets to the studs or joists with drywall screws. Ensure the screws are slightly below the surface of the drywall but do not tear the paper.
Taping and Mudding
Apply joint compound along the seams, then press drywall tape into the wet compound. Add another layer of compound over the tape, smoothing it out. Cover screw heads with joint compound as well. Allow it to dry completely before applying additional coats, sanding between each coat.
Sanding and Finishing
Once the final coat of joint compound is dry, lightly sand the surface to a smooth finish. Be cautious to not sand too aggressively and damage the surface. Dust off any residue before priming and painting.
Repairing Drywall
Repairing drywall might seem daunting, but it is relatively straightforward with the right tools and techniques. Common issues include dents, holes, and cracks.
Small Repairs
For small dents or holes, fill them with joint compound, let dry, sand smooth, and then paint.
Medium to Large Repairs
For larger holes, cut out the damaged area to form a square or rectangle. Cut a new piece of drywall to fit the hole, attach it with drywall screws to a support (such as a wooden board placed inside the wall), and then tape, mud, and sand as detailed above.
Cracks
For cracks, use a utility knife to widen the crack slightly, fill it with joint compound, apply tape, and then finish with more joint compound, sanding, and painting as necessary.
Conclusion
While drywall installation and repair can seem complex, following these steps will help you achieve professional-looking results. Remember, patience and practice are key. Don’t shy away from starting small and working your way up to larger projects. Whether you’re fixing minor damages or installing new walls, mastering drywall work is a valuable skill for any home improvement enthusiast.

