Introduction
Water damage is a common household problem that, if not addressed promptly, can lead to significant issues including mold growth, structural damage, and the deterioration of drywall. Drywall, in particular, is susceptible to water damage due to its porous nature, making it imperative for homeowners to act quickly to repair any affected areas. This guide will walk you through the steps to repair water-damaged drywall, ensuring your walls are restored to their original condition.
Assessing the Damage
The first step in repairing water-damaged drywall is to assess the extent of the damage. Small, localized areas of damage can usually be repaired easily, while larger areas may require more extensive repairs or even complete replacement of the drywall. Look for signs of mold, mildew, or significant deformation of the drywall, as these are indicators that the affected area may need to be replaced rather than repaired.
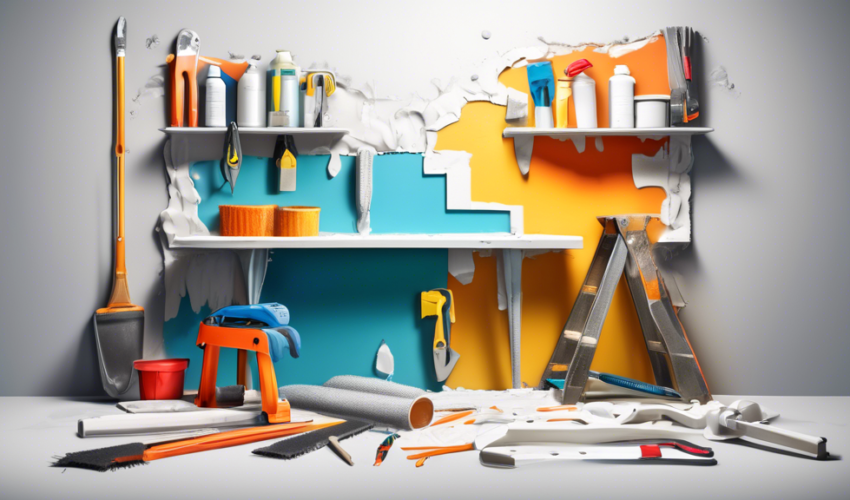
Materials Needed
Before you begin, ensure you have all the necessary materials to repair the water-damaged drywall:
- Drywall saw or utility knife
- Joint compound (spackle)
- Drywall tape
- Putty knife
- Sandpaper (medium and fine grit)
- Primer and paint matching your wall
- Drywall panel (for larger repairs)
- Screws (for securing new drywall)
- Screwdriver or drill
Steps to Repair Water-Damaged Drywall
1. Remove the Damaged Area
Using a drywall saw or a utility knife, carefully cut out the damaged drywall. Be sure to remove all the damaged material, as leaving any wet material can lead to mold growth. For larger areas, you may need to remove whole sections of drywall.
2. Dry the Affected Area Completely
It’s crucial to ensure that the area behind the drywall is completely dry to prevent mold and further damage. Use fans or dehumidifiers to dry out the space. This step might take several days, depending on the extent of the damage.
3. Apply New Drywall (if necessary)
For larger repairs, cut a piece of new drywall to fit the hole you’ve created. Secure the new piece with screws to the surrounding studs. Ensure the new piece is flush with the existing wall surface.
4. Tape and Apply Joint Compound
Apply drywall tape around the edges of the repair. Then, using a putty knife, apply a layer of joint compound over the tape and smooth it out. Wait for it to dry, and then sand it down with medium-grit sandpaper, followed by fine-grit sandpaper. Apply additional layers of joint compound, sanding between each layer, until the surface is smooth and flush with the rest of the wall.
5. Prime and Paint
Once the joint compound is completely dry and sanded smooth, apply a coat of primer to the repaired area. After the primer has dried, paint the area with a matching color to your wall.
Conclusion
Repairing water-damaged drywall may seem like a daunting task, but by following these steps, you can restore your wall to its original condition. Timely repairs not only improve the appearance of your home but also prevent possible structural damage and mold growth, ensuring a healthy living environment. If the damage is extensive or if you’re unsure about performing the repairs yourself, don’t hesitate to seek the assistance of a professional.