Introduction to Carpentry for Beginners
Starting a new hobby in carpentry can be an exciting and rewarding endeavor. Not only is it a chance to work with your hands and create something useful, but carpentry also offers a way to relax and express creativity. For beginners, starting with manageable projects helps in building confidence and developing carpentry skills. Here, we’ll explore some simple woodwork projects perfect for beginners that can serve as a foundation to undertake more complicated tasks in the future.
1. Wooden Shelves
Materials and Tools Needed
To construct a basic wooden shelf, you will need some planks of wood, wood screws, brackets, a drill, a saw (hand saw or power saw), sandpaper, and optionally, paint or wood stain for finishing. Shelf projects are flexible, allowing the choice of wood type based on your budget and aesthetic preference.
Steps to Create Wooden Shelves
Start by measuring and cutting your wood to the desired size. Sand the edges to avoid any sharp corners or splinters. You can then attach brackets to the wall and mount your planks onto those brackets. To finish, you might choose to paint or stain the wood. This project doesn’t just offer practical storage solutions but can also be tailored stylistically to fit your home’s decor.
2. A Simple Birdhouse
Materials and Tools Needed
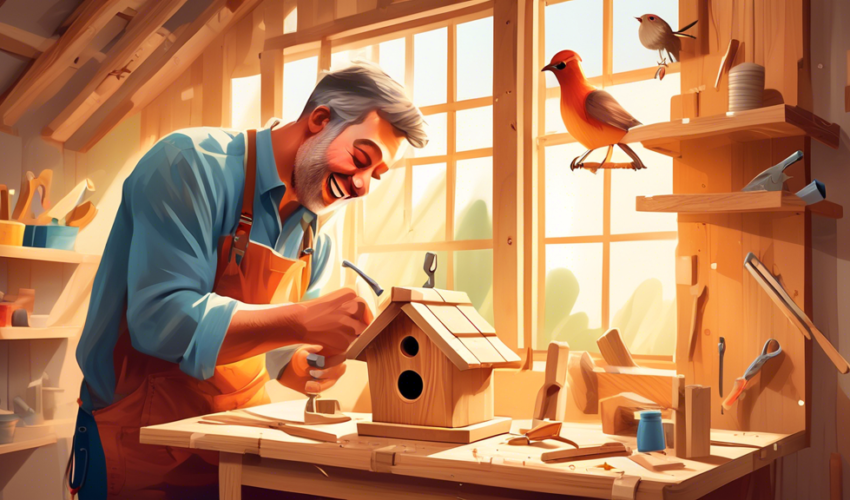
Creating a birdhouse requires wood (cedar or pine works well), wood glue, nails, a hammer, a saw, and optionally, paint or wood stain for decorative purposes. This project is excellent for engaging with wildlife and adding a charming element to your garden.
Steps to Create a Birdhouse
Begin by cutting your wood into six pieces: a floor, four walls, and a roof. Assemble these pieces using wood glue and reinforce them with nails. Drill a small hole in one of the walls for the birds to enter. Once constructed, you can paint or stain the birdhouse, and then hang it in your garden using a sturdy string or mounting it on a post.
3. Picture Frames
Materials and Tools Needed
For making picture frames, you will need wood strips, a miter saw to cut angles, wood glue, L-shaped brackets, or a frame clamp. Sandpaper and paint or stain are also needed for finishing touches.
Steps to Create Picture Frames
Cut the wood strips to size, ensuring each end is mitered at a 45-degree angle so they can fit together neatly. Glue the corners together, using brackets or a clamp to hold them until the glue dries. Once dried, you can further decorate the frame with paint, stain, or even carving small designs into the wood.
4. Wooden Planter Box
Materials and Tools Needed
To build a simple planter box, gather wood planks, wood screws, a drill, a saw, and sandpaper. Consider using weather-resistant wood or treating the wood to withstand elemental wear if the planter will be outdoors.
Steps to Create a Wooden Planter Box
Measure and cut the wood according to the desired size of your planter. Assemble the pieces to form a box shape and secure them with screws. Drill several holes in the bottom for water drainage. Sand any rough edges for a smoother finish, and treat or paint the wood to protect it from water and sun damage.
Concluding Tips for Beginners
Starting with smaller projects helps beginners to gradually learn and understand the basic skills required in carpentry. Always prioritize safety by wearing appropriate gear like gloves and goggles, and work in a well-ventilated area when using chemicals such as paints and stains. Carpentry can be very enjoyable when you take it step by step, learning as you go, and watching your creations come to life.
Remember, the most important part of beginner carpentry is to have fun and enjoy the learning process. Each project completed successfully will increase your confidence and skill level, setting a strong foundation for more complex projects in the future.

