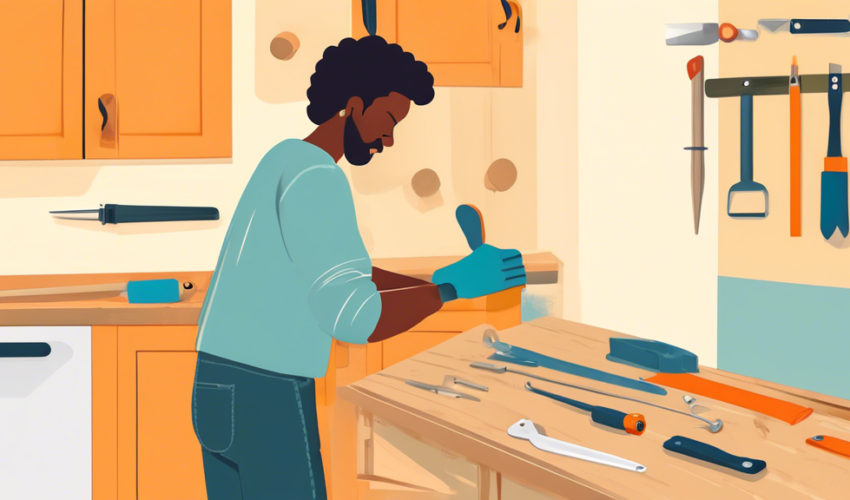
Introduction to Repairing Cabinet Door Hinges
Repairing cabinet door hinges is a straightforward DIY task that can improve the function and appearance of your kitchen, bathroom, or storage cabinets. Over time, cabinet doors can sag, stick, or become misaligned due to normal wear and tear or the weight of the door itself. Properly functioning hinges ensure that doors open and close smoothly and align correctly with the cabinet frame. This guide will walk you through the steps to identify, adjust, and replace cabinet door hinges for a seamless fix.
Identifying Common Problems with Cabinet Door Hinges
Loose Hinges
One of the most common issues with cabinet doors is loose hinges. This can cause the door to sag or appear crooked. Typically, loose hinges can be fixed by tightening the screws on the hinge plates.
Worn or Damaged Hinges
Over time, hinges can wear out or get damaged, impacting the door’s ability to open and close properly. If the hinge is rusty, squeaks, or is visually damaged, it may need to be replaced.
Squeaking Hinges
Squeaking usually indicates that the hinges need lubrication. A light application of a silicone-based lubricant can often resolve this issue.
Alignment Issues
Improperly aligned doors may not close correctly or may leave a gap when shut. Aligning doors is usually a matter of adjusting the hinges’ depth or lateral position.
Tools and Materials Needed
Before you begin repairing your cabinet door hinges, make sure you have the following tools and materials:
- Screwdriver or drill
- Hinge lubricant (if needed)
- New hinges (if replacement is necessary)
- Level (for checking alignment)
- Tape measure
- Rags or cloth for cleanup
Step-by-Step Guide to Repairing Cabinet Door Hinges
Step 1: Tighten Loose Hinges
Using a screwdriver or drill, tighten all screws on the hinge plates. If the screws do not hold and the hinge remains loose, consider replacing the screws with slightly larger ones to better grip the wood, or use wood filler to secure the original screws.
Step 2: Lubricate the Hinges
If the hinges are squeaking, apply a silicone-based lubricant to the hinge pivot points. Open and close the door several times to work the lubricant into the hinge mechanism.
Step 3: Align the Cabinet Doors
If the door is misaligned, loosen the hinges slightly using a screwdriver; then adjust the placement of the door as needed. Use a level to check that the door is hanging straight. Once the proper position is achieved, retighten the screws to secure the hinge.
Step 4: Replace Damaged Hinges
If a hinge is badly damaged or worn out, it will need to be replaced. Remove the old hinge by unscrewing it from both the door and the cabinet frame. Align the new hinge where the old one was positioned, and screw it into place. Adjust as necessary to ensure smooth operation of the door.
Final Adjustments and Maintenance
After making repairs, open and close the door several times to ensure it moves smoothly and stays aligned. Periodic maintenance, such as tightening screws and lubricating hinges, can greatly extend the life of your cabinet doors. Keeping a toolkit handy for these simple tasks will help keep your cabinets in excellent condition.
Conclusion
Repairing cabinet door hinges is often a simple DIY project that requires minimal tools and expertise but can significantly impact the functionality and aesthetics of your cabinets. By following the steps outlined in this guide, you can ensure your cabinet doors operate smoothly and are properly aligned, contributing to a well-maintained kitchen or bathroom.

