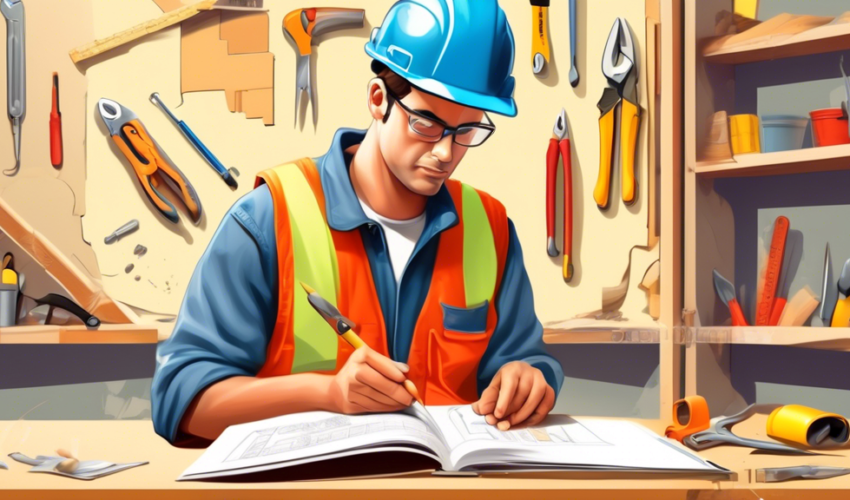
Introduction to Drywall Construction
Drywall construction is a popular building technique used worldwide to create walls and ceilings in residential and commercial buildings. Also known as gypsum board, wallboard, or plasterboard, drywall has become the preferred choice over traditional lath and plaster for its efficiency, cost-effectiveness, and ease of installation. This beginner’s guide will cover the basics of drywall construction, providing you with a solid foundation to understand and engage in this type of construction work.
What Is Drywall?
Drywall is a manufactured panel made from gypsum plaster pressed between two thick sheets of paper. It comes in various sizes, thicknesses, and types, each suited for different applications. For example, moisture-resistant drywall is ideal for bathrooms and basements, while fire-resistant drywall is often used in garages and around furnaces.
Tools and Materials Needed
Before starting with drywall installation, gathering all necessary tools and materials is essential. Some of the primary tools include a drywall saw for cutting panels, a utility knife, a T-square, a tape measure, and a drill. Additionally, drywall screws, joint tape, and joint compound, also known as mud, are crucial materials for installing and finishing drywall.
Steps in Drywall Installation
The process of installing drywall involves several steps, such as measuring, cutting, attaching, and finishing. Following these steps carefully ensures a smooth and professional-looking wall or ceiling.
Measuring and Cutting
The first step is to measure the area where the drywall will be installed and mark where cuts need to be made on the drywall panel. Using a T-square and a utility knife, score the drywall paper on one side, then snap the panel along the scored line. Finally, cut the paper on the other side to complete the cut.
Attaching Drywall Panels
Once cut to size, drywall panels can be attached to the framing using drywall screws. Ensure that screws are placed at regular intervals and not too close to the edges to avoid damaging the drywall. For ceilings, it’s often helpful to have a partner or a drywall lift to support the weight of the panel.
Taping and Mudding
After all panels are attached, the seams between panels are taped using joint tape and then covered with joint compound. Apply the compound smoothly over the tape and allow it to dry completely before applying additional coats. Usually, two or three coats of mud are applied, with each layer wider than the last to create a seamless transition between panels.
Sanding and Finishing
The final step in drywall installation is sanding. Once the joint compound is completely dry, sand the area to create a smooth surface. Be careful not to sand too aggressively and damage the drywall surface. After sanding, prime and paint the drywall as desired.
Common Mistakes to Avoid
As a beginner, it’s easy to make mistakes. Some common errors include not securing the drywall panels properly, applying too much joint compound, and not allowing enough drying time between coats of mud. Avoiding these mistakes can lead to a more successful and satisfying drywall installation experience.
Conclusion
Drywall construction is a skill that can be developed with practice and attention to detail. By understanding the basics outlined in this guide, beginners can embark on drywall projects with confidence. Remember to take your time, measure accurately, and follow each step diligently for the best results. With patience and practice, mastering drywall installation and finishing is an achievable goal for any aspiring DIYer or professional.

